


Unpack the RFID reader first.
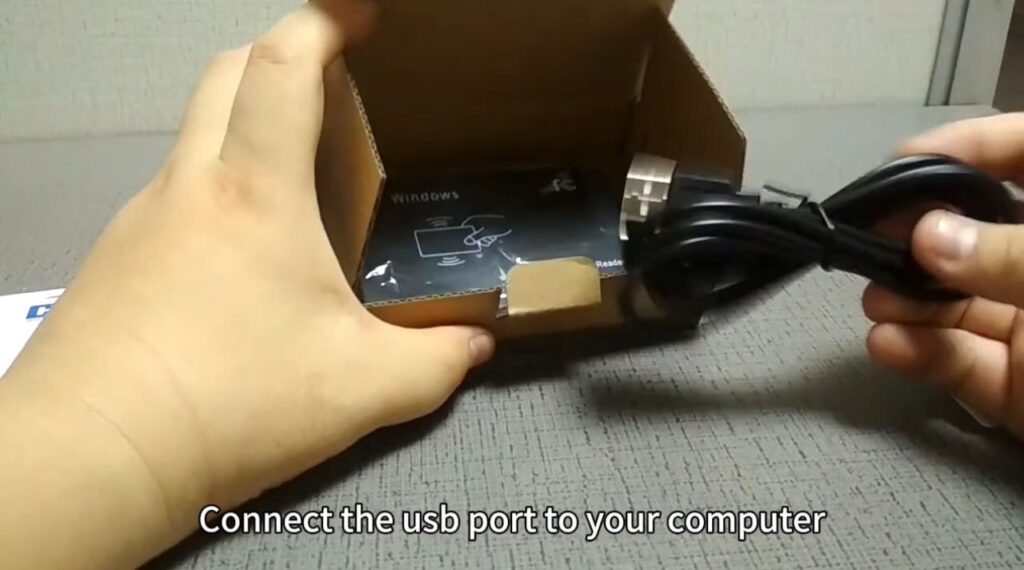
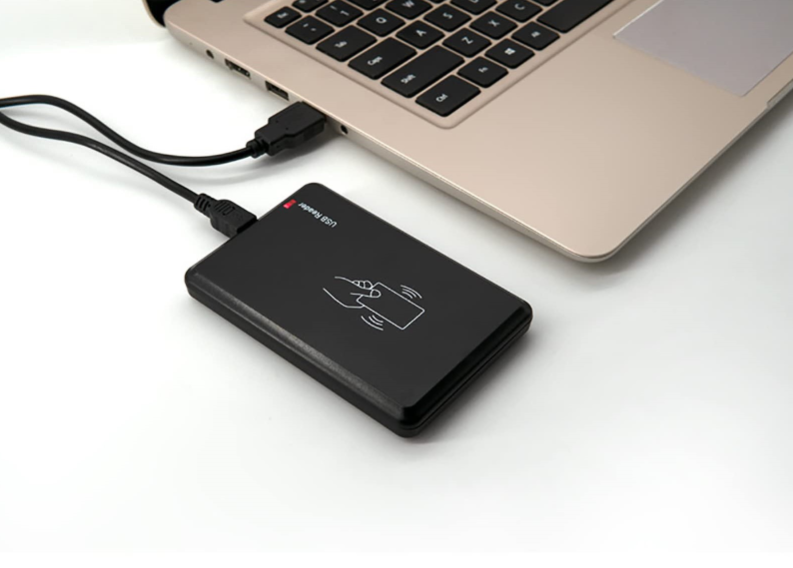
Connect the usb port with your RFID reader to your computer.
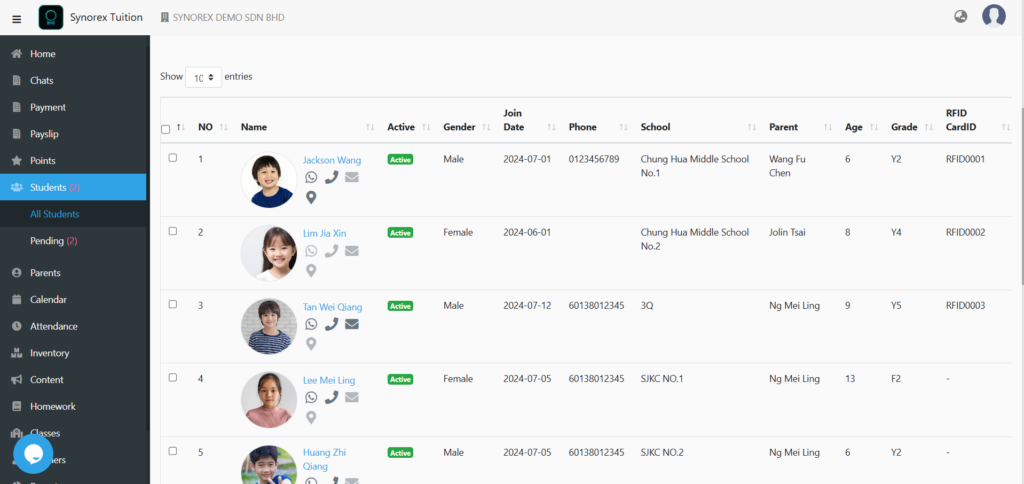
After connect your RFID reader with your computer, click Students -> All Students and select a student you want to amend.
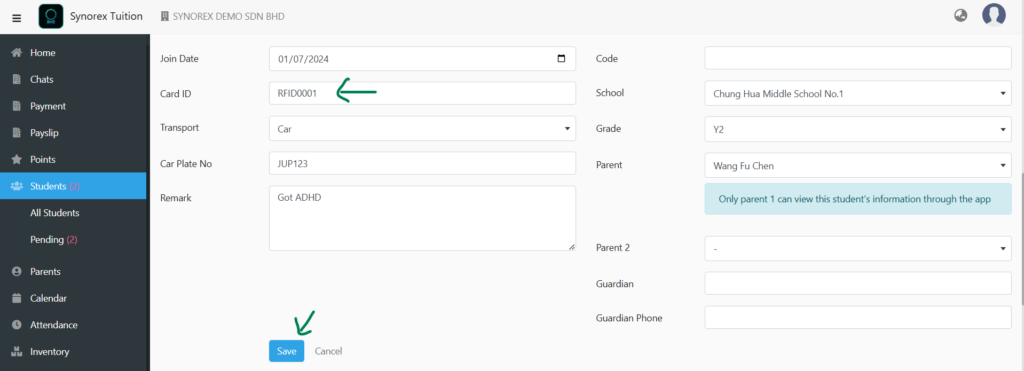
Key in the number on the RFID Card in CARD ID column. (After setting up this student, the same is for the other students)
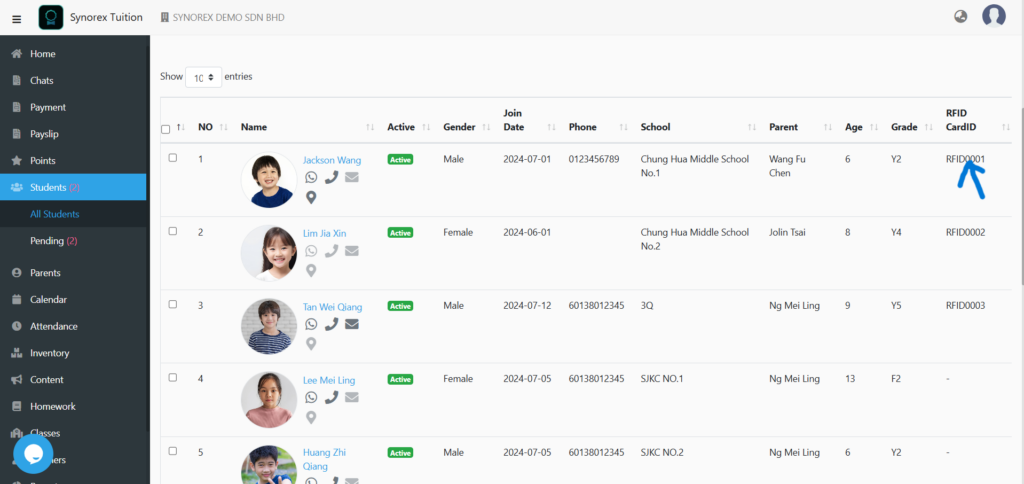
Once you done key in the Card ID, it will automatically show on the student page.
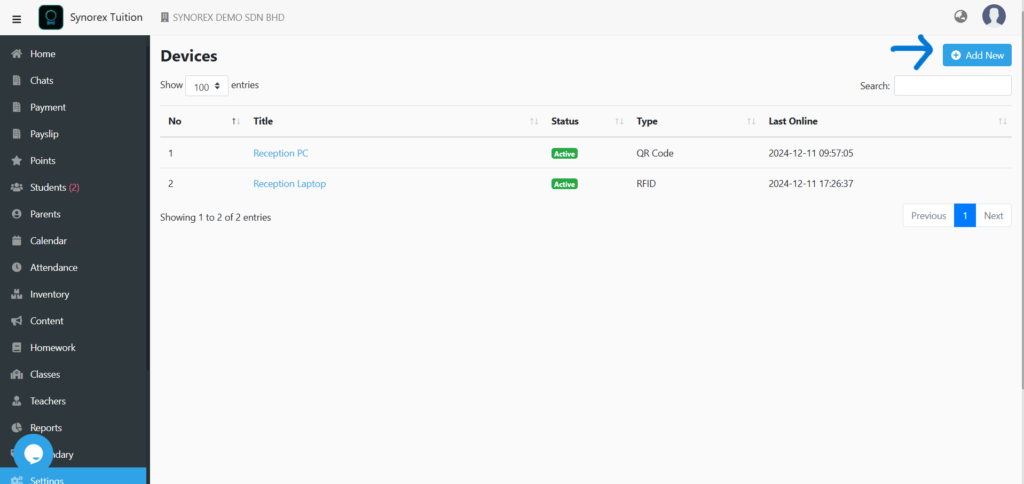
Click ‘Add New’.
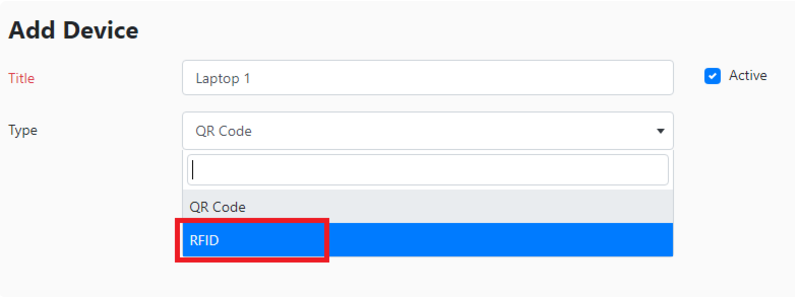
Fill in the device you are using with the RDIF Reader, e.g. Laptop1. Remember to change the ‘Type’ to RFID, and save it. (If you have two RFID reader with two devices, you have to add separately. )
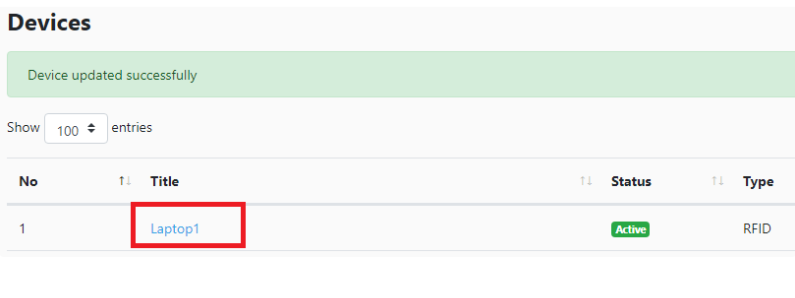
Click the device you save just now.
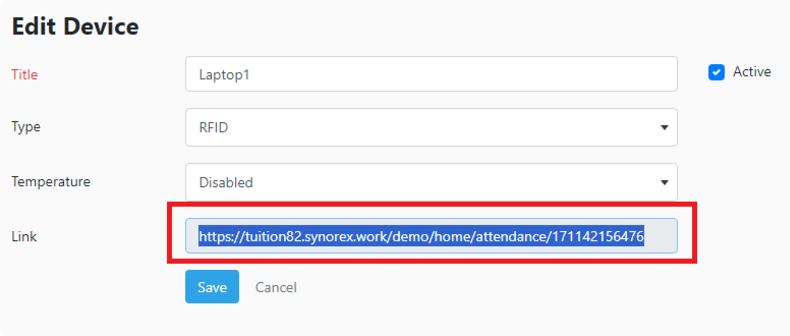
Disable the temperature and click save. Now, copy the ‘Link’ and open it on the new tab.
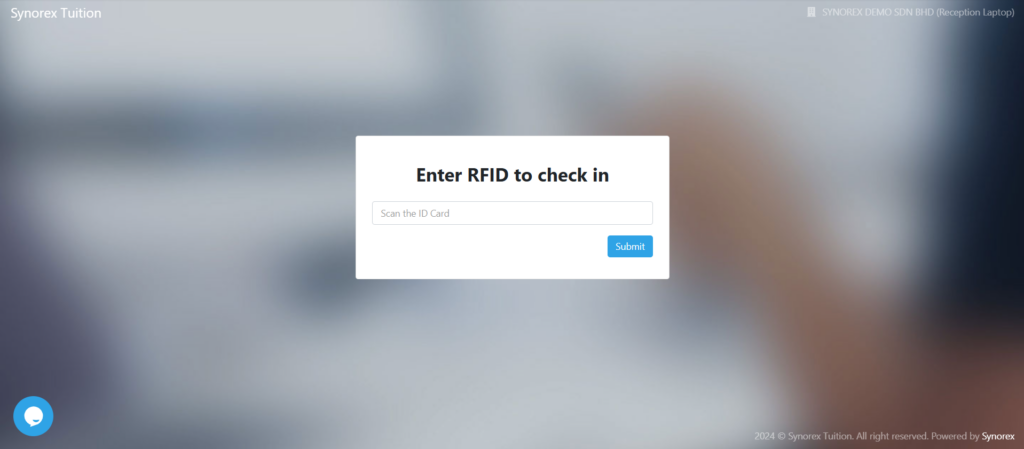
Students will be able to scan their RFID Card on RFID Reader.
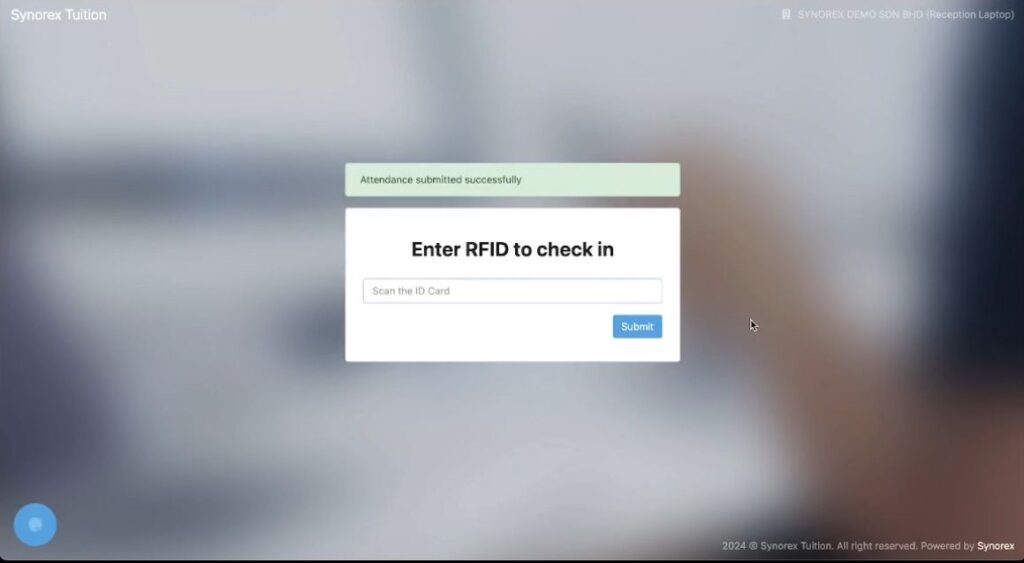
Then, it will show attendance submitted successfully.
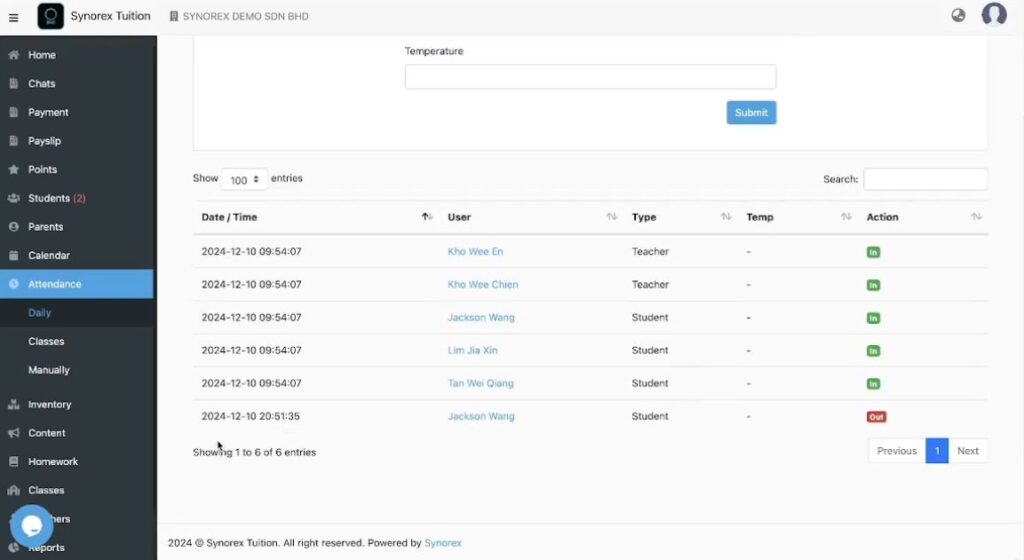
Can go to Attendance -> Daily and you can see latest student’s attendance record in the last row.